How to view scans from a hospital CD at home
The disc you got after a CT or MRI holds the images in the DICOM format. You can look at them in your browser in two minutes — without installing the viewer on the disc, and without uploading anything.
What is on the disc
Open the disc in Explorer or Finder. You will usually see a DICOMDIR file, a folder called DICOM (or IMAGES) with files that have no extension, and often a Windows viewer program that does not run on a Mac or a phone.
The DICOMDIR is only an index. The pictures themselves are the files inside the folder — sometimes hundreds of them, one per slice.
1. Copy the folder to your computer
Copy the whole disc, or at least the DICOM folder, to your desktop. Reading from a disc is slow; from a copy the images open at once.
2. Drop the folder on OsonKit
Open osonkit.com and drag the folder onto the page. OsonKit reads every file in your browser and sorts the images into studies and series. Files that are not images, like the DICOMDIR, are skipped.
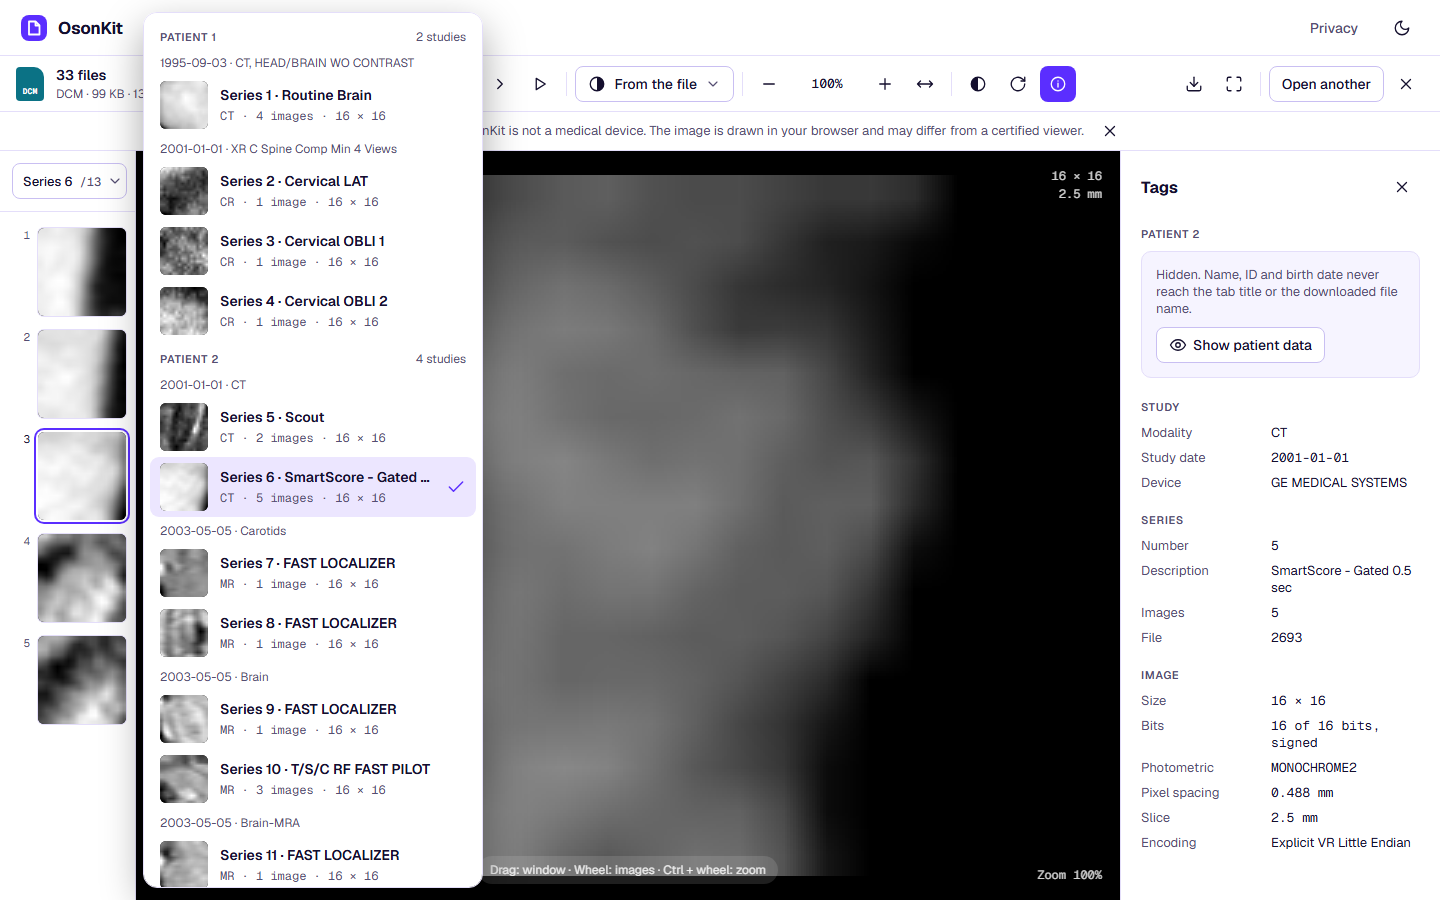
3. Find your series
A CT or MRI exam has several series: a quick localizer, then the real sequences. Open the series list above the thumbnails and pick the one with the most images — that is usually the main scan. Scroll with the mouse wheel to move through the slices.
- Window presets make bone, lung or soft tissue easier to see on CT.
- Drag on the image to change brightness and contrast.
- Ctrl + wheel zooms; Shift + drag moves the zoomed image.
What you can and cannot do
You can look through every image, change the window, zoom, rotate and read the technical tags. You cannot measure, draw on the image or build 3D views — those belong in a radiologist’s workstation.